Email Your Subscribers
The Email Your Subscribers option is a do-it-yourself feature, available to all Perfect Patients’ clients.
Dashboard Email Basics
Sending an email to all subscribers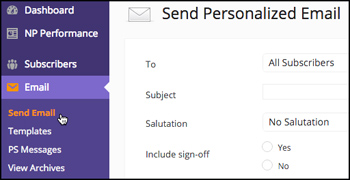
- Hover over the Email tab in the left menu and click Send Email from the drop down menu.
- You will be presented with a blank email template ready for you to type or paste your content into.
- If you are copying and pasting something in, it is recommended to click the ‘paste as text‘ button to clean up any formatting that may not be supported.
- Once you’ve completed your email, we recommend you use the Send Test button to send yourself a proof of your email before sending it to all subscribers.
- You can choose to save the email to Draft, if you are not ready to send it yet.
- When you’re happy with how your email looks, click the Send button to send to all subscribers.
- You can also click on the Schedule button to send the email on a specific day and time.
- Log into your Dashboard at www.yourdomainname.com/dash
- Click on the Subscribers tab in the left menu
- Locate the subscriber you want to email
- Can’t find the subscribers name? Click on the magnifying glass icon » Then you can search by Last Name, First Name or Email.
- Once you have your subscriber, click on the Email Envelope Image to the far right of their name, under the Actions column.
- You will be presented with a blank email template that is set to ONLY email this one subscriber. It will be ready for you to type or paste your content into.
- You can also choose a template that is already written by clicking the dropdown arrow, selecting a template and sending that to your one subscriber.
- Once you’ve composed your email, we recommend you use the Send Me a Test button at the bottom of the page so you can see exactly what it will look like, before sending it to your one subscriber.
- When you’re happy with how your email looks, click the Send button to send to your subscriber.
- You can also click on the Schedule button to send the email on a specific day and time.
- Highlight the text that you would like hyperlinked in the bed of the email.
- Click the Insert/Edit link button in the toolbar.
- Enter in the destination URL and then click the Add Link button.

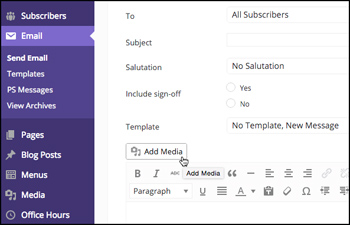
- Click on the Add Media button
- Click the Upload Files link.
- You can either drag and drop the file from your computer onto the area of the dialog box marked Drop Files Here, or click the Select Files button to locate and upload the file from your computer.
- Once the image has been uploaded, and you have selected the options you like, click Insert into Post and your image will appear in the email you are editing.
NOTE: Images can not exceed 540 pixels in width and 3MB in total file size. If you are not familiar with how to edit an image, please contact your Website Success Manager (Premium subscribers only) or reach out to our Client Support Team (support@perfectpatients.com) and we will have one of our design specialists do this for you.
Start by uploading your PDF to the Media Library
- You can either drag and drop the file from your computer onto the area of the dialog box marked Drop files here, or click the Select Files button to locate and upload the file from your computer.
- Once it is uploaded, click on ‘edit’
- Now you will want to copy the file URL
From the Email Center:
- Compose your email
- Enter the text that you would like users to click on in your email (ie: “Click here to learn more »” or “Download flyer here”)
- Now highlight that text and click on the ‘Insert Link’ icon
- Paste in your file URL and click ‘Add Link’
- Send yourself a test email to confirm it looks & works the way you want it to.
We don’t recommend that you embed a YouTube video into an email due to the size. Instead we suggest you add an image of the video and hyperlink the image.
When you are in your YouTube account, you can click on edit video. From here you can save one of the Thumbnail images that YouTube offers to your desktop.
Once saved, you can use the directions above to add an image to your email.
Once your image has been added to your email, you can highlight the image and click the ‘Insert/Edit Link’ button.
Then add in the URL to your video, check the box to Open link in a new window/tab and click ‘Add Link’.
It’s a good idea to let your patients know to click the image to view your latest video. Example.
We recommend sending yourself a test email before sending it out to your subscribers.
Now you are all set!
Tips For Composing Your Email
- Composing a long or complicated email? Why not write it out first in a notepad / text editor so that you won’t lose anything if you walk away or get distracted. If composing it in the dashboard, don’t forget to press ‘Save to draft’ so you don’t lose your hard work.
- Please note that word document styling isn’t supported. If you compose your email in a word document, you’ll need to either click on the ‘Paste as Text‘ tab in the dashboard or use the an online text cleaner to clear out all of the styling. If you don’t, the email system won’t be able to save your email.
- Emojis & clip art aren’t currently supported. Make sure your email content doesn’t contain any as the email system won’t give you an error. You’ll be able to send yourself a test email BUT it will NOT let you save, schedule or send out your email.
- Photos/images can’t be copied and pasted into an email. Please follow the directions above for ‘Adding an Image into an Email’.
Dashboard Email FAQ’s
How do I add a flyer to an email so my patients can see the flyer?If you have a flyer or a document that you would like to send to your patients but you want it to look exactly like the document, you will need to convert the document or PDF to an image (JPG) first.
There are a couple of sites you can use to help you do this:
» Zamzar or smallpdf.com will let you convert your text document (.doc or docx) directly to a JPG.
» Ilovepdf.com will let you convert your PDF to a JPG.
Here’s a video showing how to convert a text document to an image.
Once your flyer has been converted into an image, you can upload it and add it to your email (You can follow the step by step directions above on how to add an image to an email.)
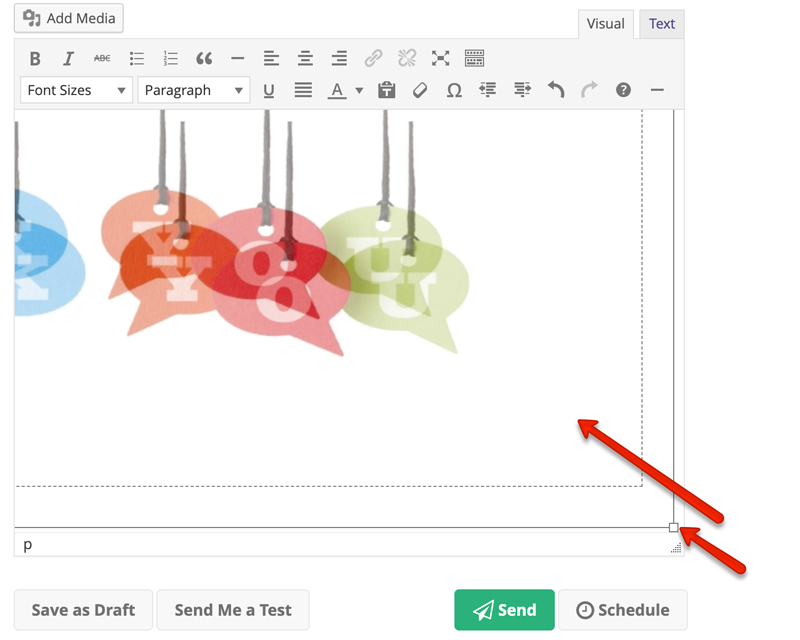
After you add the image, it will actually be too large so you will need to resize it to make it smaller by clicking on it and finding the corner. You will need to grab the box and drag it inward.
Once the image is smaller click on it, then scroll to the very top left hand side and look for the pencil icon. Click on the pencil.
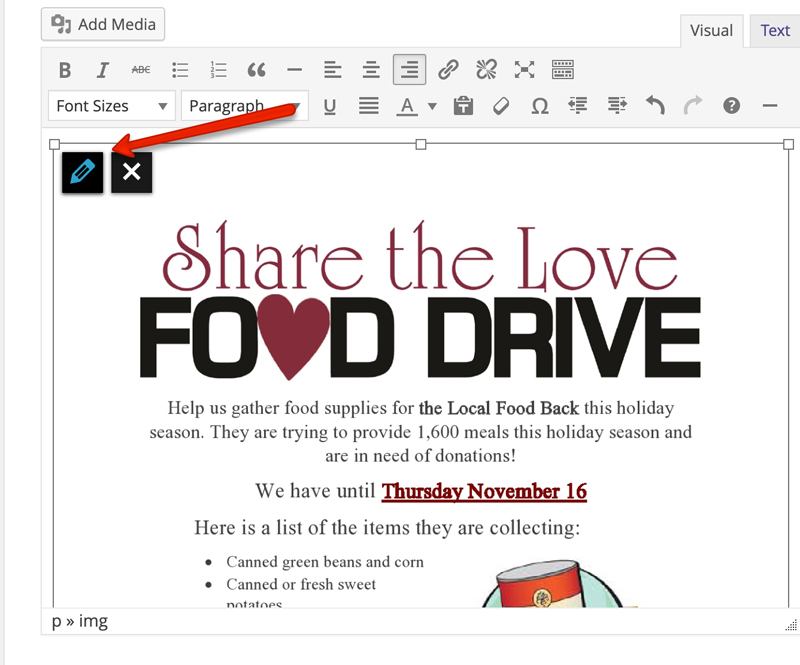
Click on Custom and resize your image to 640px wide. This size fits nicely in an email.
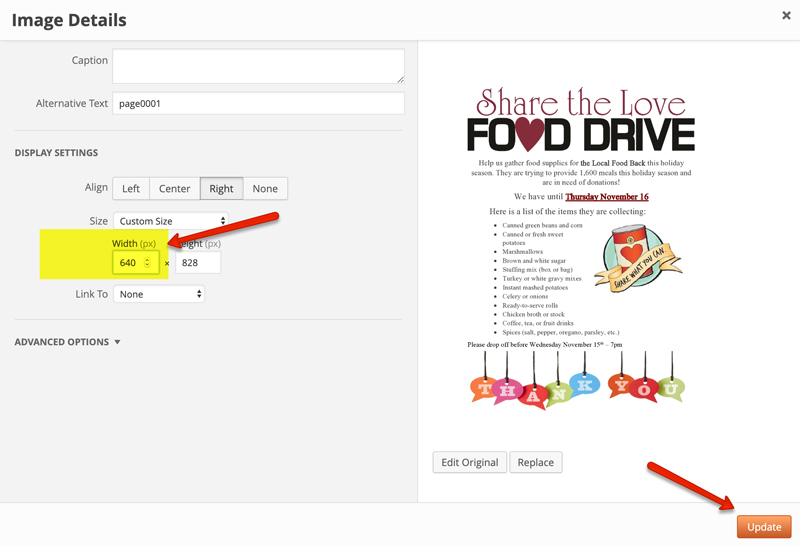
Once done, send yourself a test email so you can make sure you like the way it looks.
When you are happy with it, you can send, save to draft or schedule your email for a later date.
Once you have selected to send your personalized email to your subscribers the email is added to the queue and will send on the upcoming hour (or very closely to it). For example, if you clicked the Send button at 10:35am your Personalized Email will send close to 11:00am. The queue is in place to ensure optimal email deliverability.
To add a PS Message to one or all of your website emails, click on the Email tab in the left column and then on the PS Messages link below. Click the Add New button at the top of the page and follow the steps below:
- Select the Email Type you wish to append your PS Message to. (All, Birthday Greeting, eLearning or Practice Newsletter)
- Enter the Title (for your reference only)
- Enter the Start and End Dates
- Compose your PS Message
- Use the Email Preview » button to send yourself a preview email and make sure everything looks correct
- Press Save »
- Click on the Email tab in the left menu
- Click on “Send Email”
- Choose a template from the list under “Template” to review the content, edit or add an image.
- Choose who you would like to send it to then decide on a salutation and a signoff.
- Before you send it, scroll to the bottom of the email and click on the “Send Test” button to send a preview to yourself.
- Once you are happy, scroll to the bottom again and click on “Send Now”. Your email will be added to our queue and sent out within the hour!
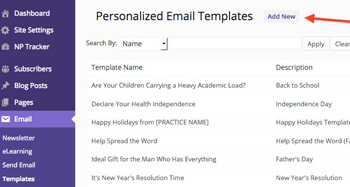 You can create your own custom template if you like to send out to your subscribers.
- Click on the “Email” tab in the left side of your dashboard.
- Click on “Templates”.
- Click on “Add New” at the top of the page.
- Add a Template Title and a description then add your text using the formatting tools and “Add Media” button for images.
Use the “Preview Template” button at the bottom to see how it will look. When you’re happy with the results, click on the “Save Template” button also at the bottom. Your custom template will be saved in the list and is now available to be sent to your subscribers from the “Email” module. Happy Templating!

Still have questions? Don’t hesitate to call or contact us at support@perfectpatients.com.
We look forward to hearing from you!