Windows 10 IMAP Email Setup Guide
The following guide should help you make your way through setting up email on Windows 10. If you have any trouble, please don’t hesitate to let us know and we’ll be happy to walk you through it.
Username: Full email address (example: bob@drbob.com)
Hostname: secure.emailsrvr.com
SSL: Enabled
Update Your Temporary Password
The password we’ve provided is a TEMPORARY password only; it is NOT secure. PLEASE make sure that you update it immediately. To change your email password, first log into the account via webmail.
- Select Settings in the upper right corner under your name
- Select Change Password
- Enter the Current Password (you were provided with this at the time of account creation)
- Enter the New Password of your choice
- Re-enter the New Password to confirm
- Click Save
We recommend that you always change your password before adding your email account to Outlook or a phone, that way you do not have to go back in later to change it.
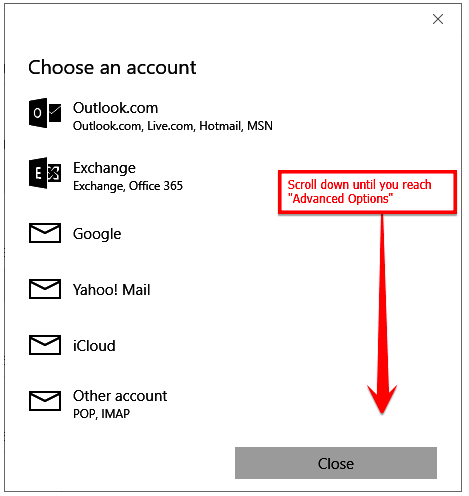
Step 1: Advanced Options
Scroll to the bottom of this popup and choose “Advanced Options.”
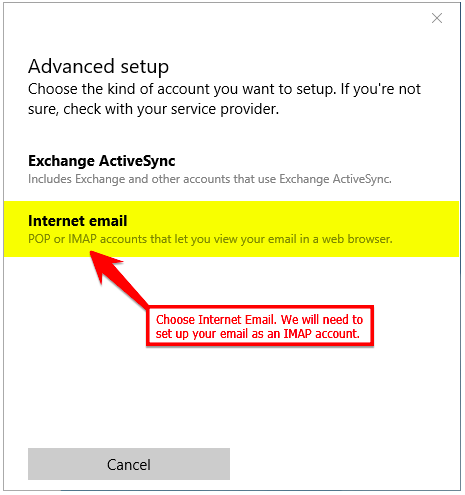
Step 2: Internet email
Choose “Internet email,” as we need to set this account up as an IMAP account.
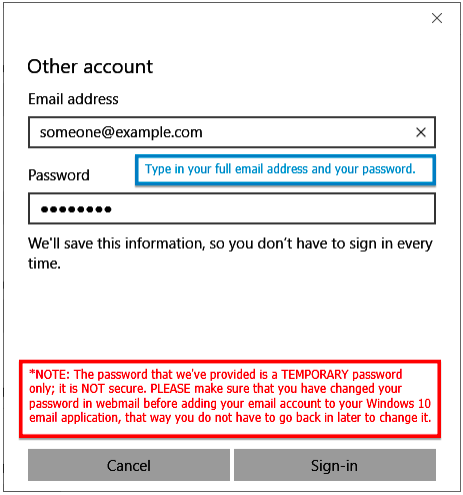
Step 3: Add Account
You will need to enter your full email address and password.
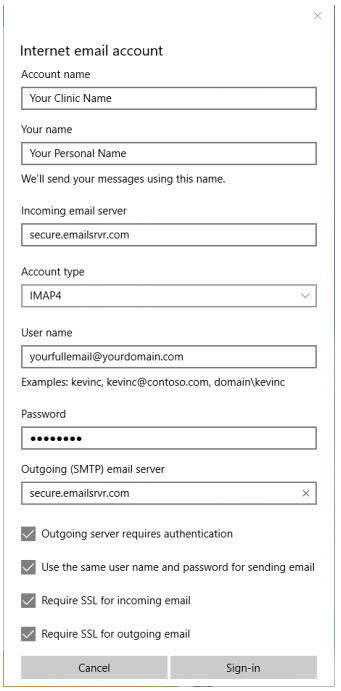
Step 4: Setup Your Account Settings
Below you will find the information required in order to set up your email account. Windows 10 Email Application does not let you specify ports. It should automatically connect to them.
Finished!

Still have questions? Don’t hesitate to call or contact us at support@perfectpatients.com. We look forward to hearing from you!