Practice Website Photo Tips – The Do’s & Don’ts
Our objective is not to turn you into a professional photographer, but merely to point out some of the things to look for and avoid when you take pictures for your Perfect Patients website. As you take pictures of your office and staff, try to imagine what the images will communicate to someone who has never been to your office. High-quality photos will grab the attention of your website visitors, showing them that your practice is the right choice.
Note: always have anyone (that means spouses, patients and staff) who is depicted in your photos sign a formal model release. Click here to download some sample text for printing on your letterhead.
![]()
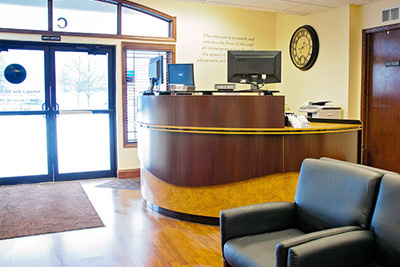
Where is Everybody?
It’s tempting to take your pictures during non-patient hours. Yet, you’re not taking a spread for Architectural Digest magazine! You want to project the image of a busy, successful office that people like coming to. A prospective patient wants to see that lots of people visit your office. Keep in the mind the adage, “everybody-goes-there-because-everybody-goes-there.”


![]()
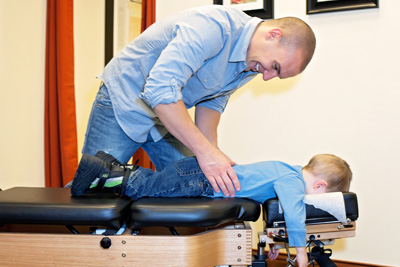
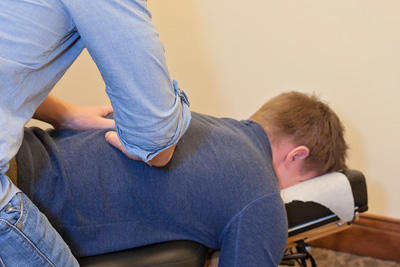
Smiles Everyone
Most first-time patients are afraid of getting adjusted. Especially cervical adjustments. If you show patients getting adjusted, and the face can be seen, it’s essential that they’re smiling or at least appearing to enjoy the experience!
![]()
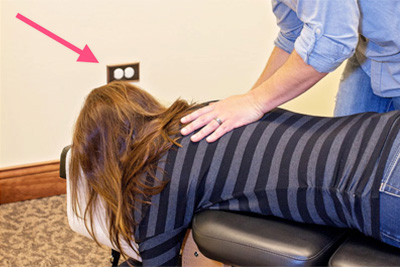
Watch the Background
Make sure you don’t have power outlets or plants growing out of patient’s heads or harsh reflections bouncing off some shiny background object. Be especially careful when shooting pictures at the front desk. Avoid the cluttered look that plagues many busy front desks. You want to project the image that your office is buttoned down and organized.
![]()
Avoid Amputation
Be careful about cropping images in your camera. While we may choose to crop off the top of a head to add intensity or drama, it’s helpful to have a choice. So, take the photo wide and crop the photo as desired when editing.
![]()
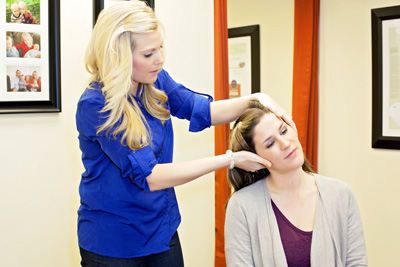
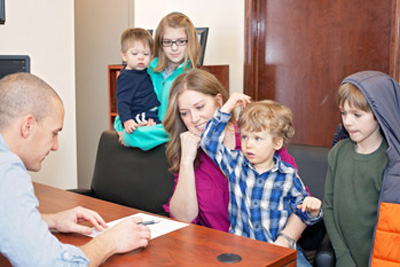
Do Something
Filmmakers call it “doing some business.” Handing over a piece of paper. Pointing to an area of an X-ray. Touching the part that hurts. That sort of thing. You want to avoid the appearance of your pictures appearing posed and stiff. Instead, the photographer has captured a candid shot of what happens in your office. Obviously, when “doing business” no one looks at the camera, unlike when shooting a portrait with just one person in the shot.
![]()
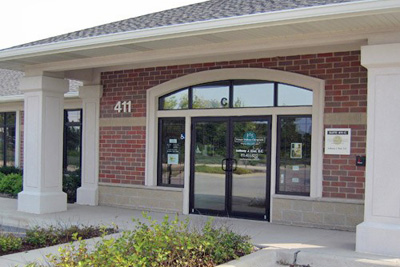
Shooting Exteriors
Supplying a photo of the exterior of your building or sign can help a new patient find your office. It’s usually best to shoot exteriors toward the beginning or end of the day. Mid-day sun tends to be flat and lack contrast. Shoot at an angle rather than straight on and avoid showing an empty parking lot in the foreground. That may mean taking the picture from the top of a stepladder or something tall and shooting down on to your building.
![]()
Summary
 Pictures are easy to change later on. And we’re happy to do that at no charge as part of your Perfect Patients service. If you don’t have easy access to a camera, or don’t trust your photography skills, see if you have a patient who can help out. Or, it may be worth hiring the talents of a professional photographer. Those who have, are glad they did.
Either way, by following these simple guidelines you can avoid the most common mistakes and project an attractive, compelling representation of your practice.
*Please note: changing designed images such as mastheads and other images that are part of the overall site design require a small design fee; changing photos that are placed within the content and do not require graphic design work is included in your service plan.